This blog post is all about homemade sign ideas and I’m going to show you how to make 3 different types of signs that look stylish and pretty!

Signs around the house can be practical and cute. You could hang a sign on the bathroom door so the guests know where it is. You can decorate a baby nursery with a sign featuring the name of the child. You could have a “Welcome home” sign by your entrance.
In this blog post, I’m showing you 3 easy sign ideas that are super easy and budget-friendly.
This blog post contains affiliate links. If you purchase anything through these links, I earn a small commission, at no extra cost to you. Thank you for reading my blog!
Homemade Sign Ideas
1. Simple Framed Sign
What You Will Need
- Canva
- Photo frame in the size you want
- Glossy or matte thick printer paper
- A Printer
*If you don’t have a printer that can print out thicker paper, or you want your sign to be larger than A4, you could always get it printed by a local or online print shop 🙂
How to Make it:
Head to canva.com. If you don’t already have an account, go ahead and make a free one.
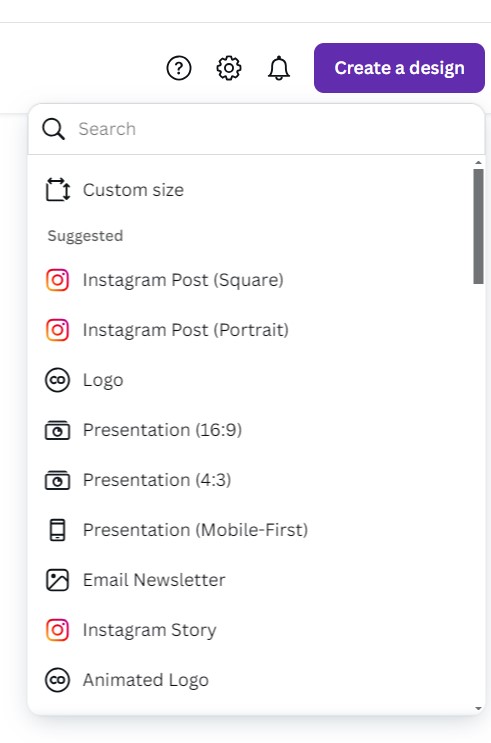
Click the purple button that says “create a design” and choose “custom size”. Choose your desired size. It should be the same as the dimensions of your picture frame.
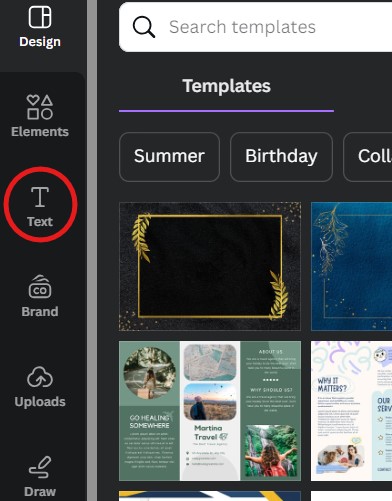
Now that your document is ready, click the “text button” on the left side of your screen.
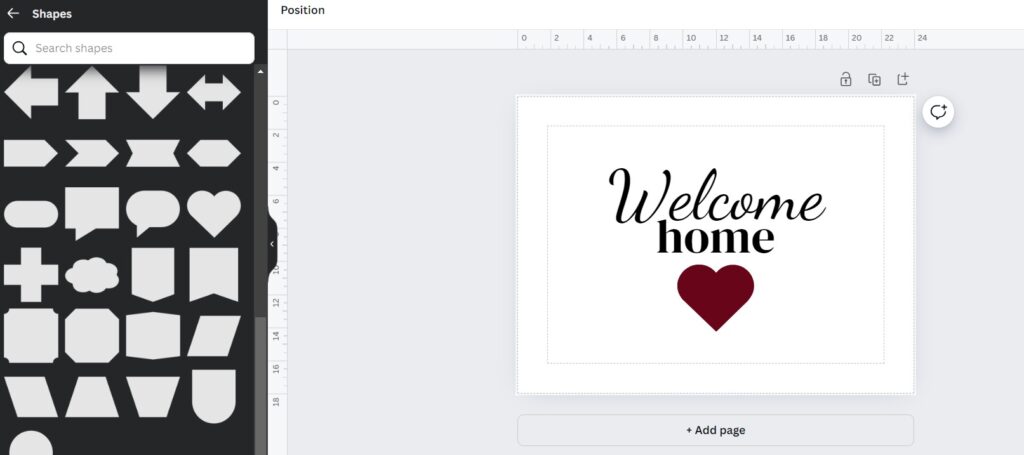
Click “add text box” and make it as large as you want. Choose your font size and your font. Play around with different fonts and colors and get it to look exactly how you want! You could also add borders, patterns, or other elements to your sign by clicking the “elements” button.
When you’re happy with how it looks, click “share”, then “download”. For printing, choose the following settings:
- File type: PDF print
- Color profile: CMYK (if you have the paid version of Canva. If you have the free version, choose RBG, it will still turn out good).
Hit the download button and print it out on high-quality paper at home, or get it printed at a print shop / online printing service like Vistaprint! Add it to your picture frame, and there you have it! Your sign is ready.

*This is a mock-up image, to show you an example.*
2. Chalkboard Sign
Inspired by Eighteen 25.
What You Will Need
- Chalkboard sheet in desired size
- 4 1″ by 3″ pieces of wood cut into desired lengths
- Wood stain
- Wood glue
- Strong all-purpose glue
- Chalkboard markers
How to Make it
Stain your 1″ by 3″ wood pieces in the color of your choice. Wait for them to dry. Glue them together once they are dry to create a frame, using wood glue.
Add glue to the back of your homemade frame, and lay the glue side down onto the chalkboard sheet. Use a strong glue like E6000 for it to stick really well. Put something heavy on top of the wood frame while you wait for it to dry.
Once the glue is dried, your sign is ready to be decorated using chalkboard markers or regular chalk! The great thing about this kind of sign is that it can be wiped down so you have the freedom to redecorate.
3. Repurposed Picture Frame Sign

This idea is similar to the one above, but with this one, you can reuse an old picture frame.
What You Will Need
- Picture frame with glass
- Primer
- Paintbrush
- Chalkboard paint
- Chalkboard markers or chalk
How to Make it
Start by removing the glass from the picture frame. Clean it with warm water and dish soap.
Once the glass is dry, use a paintbrush or a small paint roller to add primer. Be careful and try to get it as even as possible. Leave it to dry.
Now it’s time to add your chalkboard paint. Again, use a small paint roller or paintbrush and spread the chalk paint evenly on the glass. You might need to repeat this step to get a 100% opaque result.
Once the chalk paint is dry, you can put the glass back into the picture frame. Your chalkboard sign is now ready to be decorated using chalkboard markers or chalk!
Conclusion
I hope you liked these homemade sign ideas! Let me know in the comments if you decide to try making one of them.
If you’re looking for more DIY home decor ideas, check out my other blog posts about the topic here.
Have a beauuuutiful day!
xx, Irene