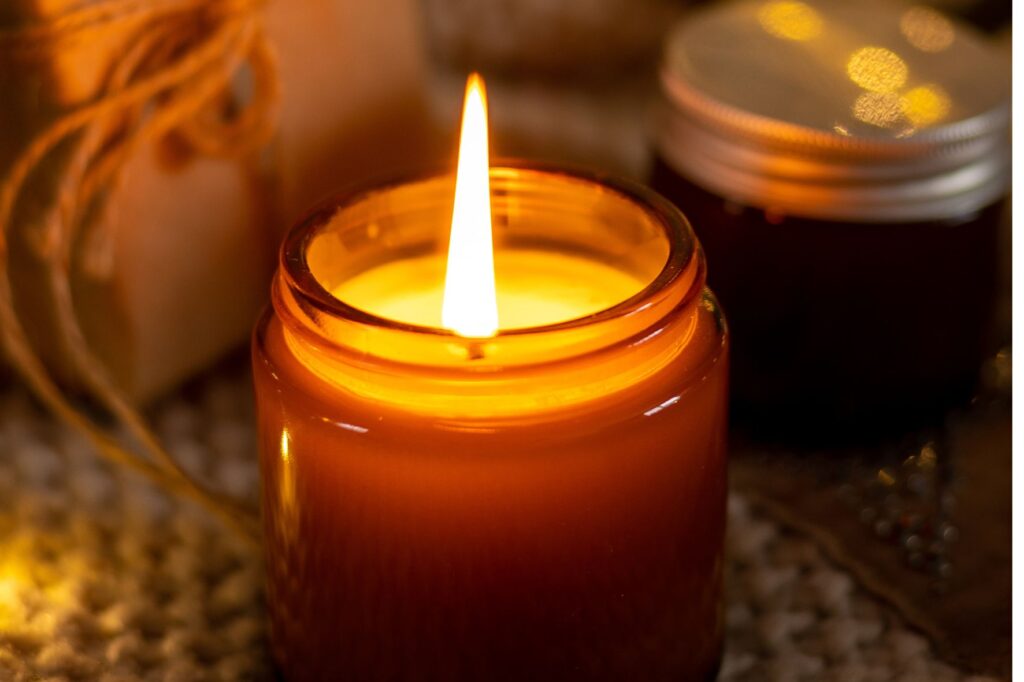
Making beeswax candles is such a fun and cozy activity for the holiday season. You could make them for yourself and use them around your house during Christmas and beyond; or you could give them as gifts for friends and loved ones. Beeswax candles also offer several eco-friendly benefits. They are biodegradable, meaning they won’t contribute to long-lasting waste in landfills. Additionally, when beeswax candles burn, they release negative ions that help purify the air by neutralizing pollutants and allergens. This natural air-cleansing property makes them a healthier choice for indoor environments. In this post I provide a step by step guide on how to make your own beautiful DIY beeswax candles!
(This blog post includes a few affiliate links. If you purchase anything through my links, I make a small comission, at no extra cost to you. I always express my honest opinion on items I mention in my blog posts.)
A simple process
The candle-making process is quite simple, and once you get the hang of it, it is going to feel like second nature. Just make sure that you have all the supplies you need. In a short amount of time, your DIY beeswax candles will be ready to use!
Materials you’ll need
- Beeswax sheets, pellets or blocks
- Wick
- Wick sustainer tabs
- Double boiler, microwave or pouring pot
- Fragrance oils (optional)
- Heat-resistant containers or molds
- Some kind of stick or pencil to hold the wick in place

DIY beeswax candles step by step guide
1. Source your beeswax
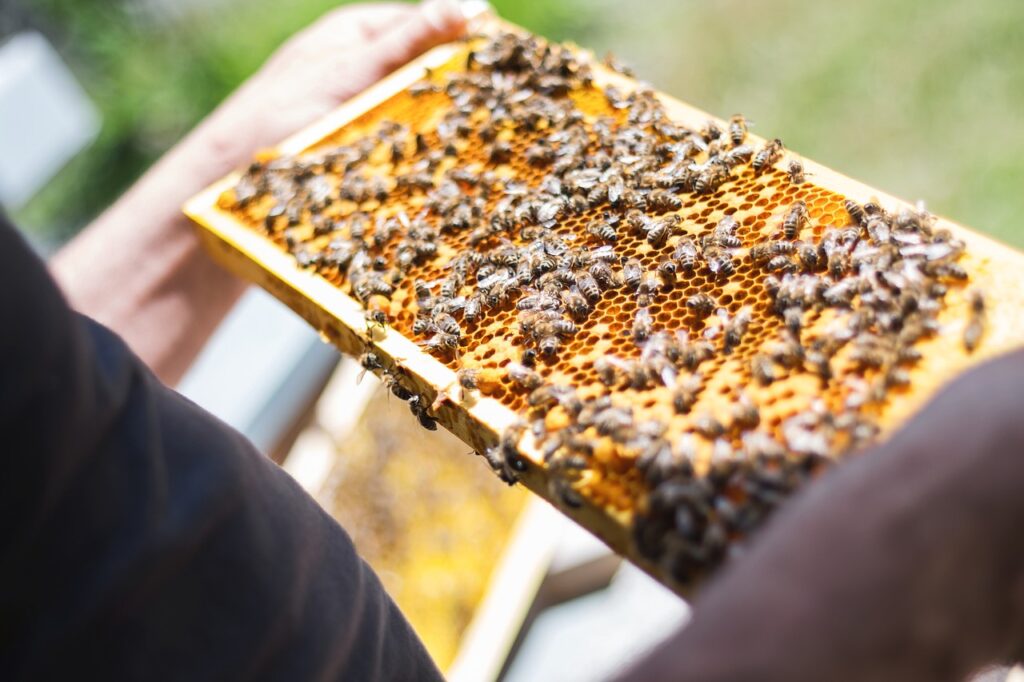
- Some beekeepers sell their honey and beeswax directly to local customers. Do your best to try and find a local farmer or beekeeper who sells beeswax or beeswax pellets. Shopping locally is definitely the best way to go, but if you have no such alternatives, beeswax is easy to get hold of online. You could purchase pellets or blocks. It doesn’t really matter which option you go for, just keep in mind that the blocks will need to be cut into managable pieces.
2. Prepare Your Workstation
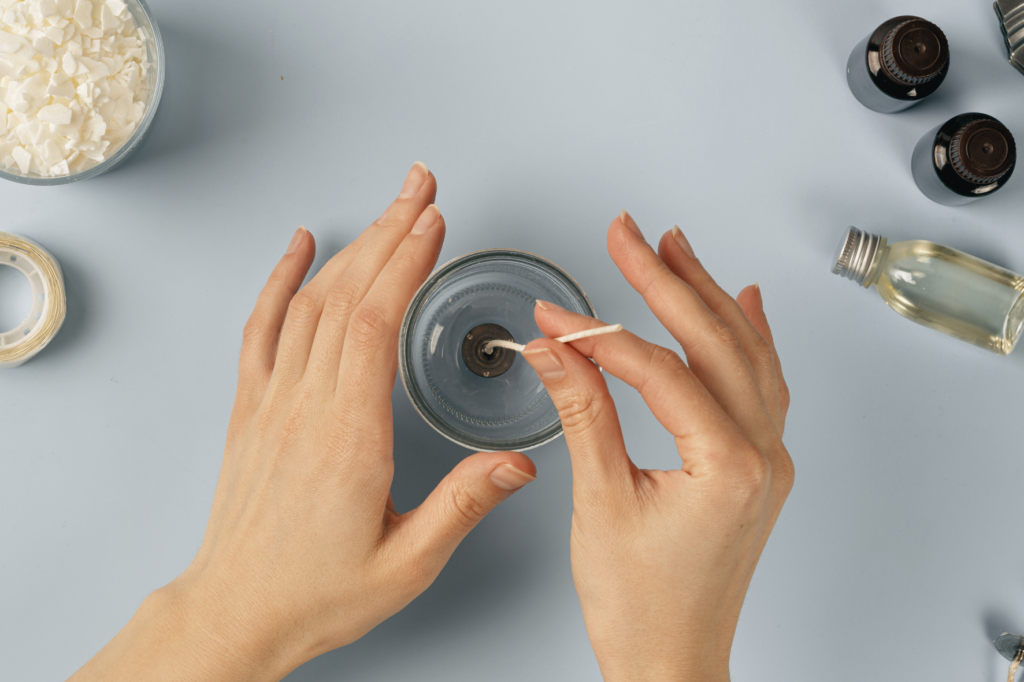
- Lay down newspaper or some kind og protection on your work area to catch any spills.
- Set up your double boiler or microwave for melting the beeswax.
- Place the wick sustainer at the bottom of your container or mold.
3. Measure and cut
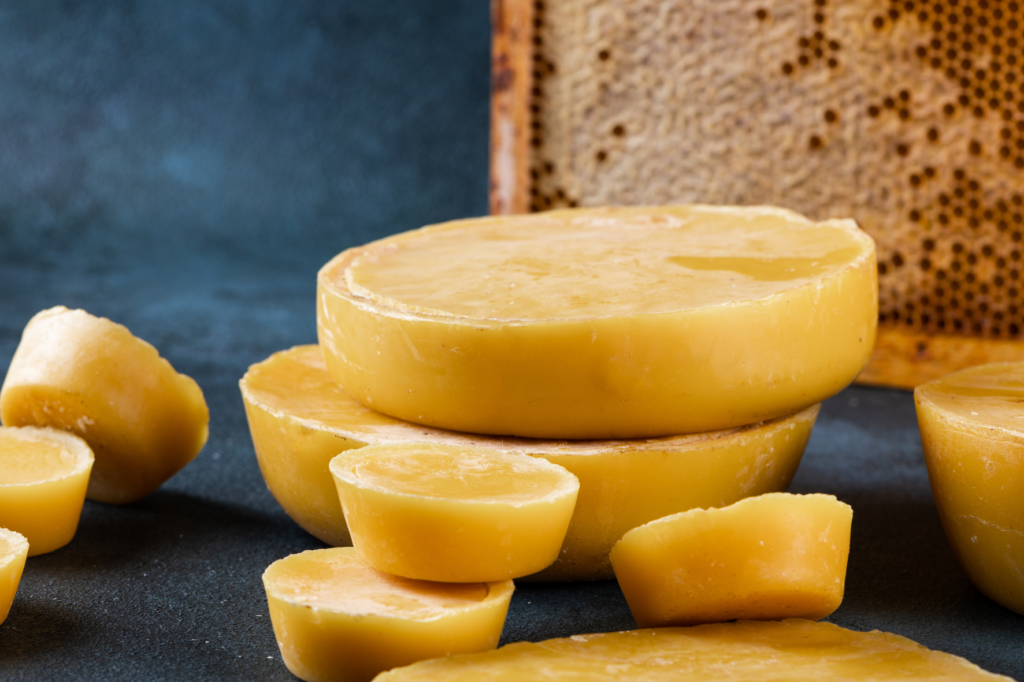
- Measure the amount of beeswax you need for your candles based on the size of your containers or molds.
- If using beeswax blocks, cut the beeswax into small, manageable pieces.
4. Prepare the wick
- Cut the wick a little taller than the container or mold.
- Thread the wick through the wick sustainer tab, securing it in the center of the container.
5. Melt the beeswax
- If using a double boiler, fill the bottom pan with water and place the beeswax in the top pan. Heat over low to medium heat until the beeswax melts.
- If using a microwave, place the beeswax in a microwave-safe container and heat in short, 30-second bursts, stirring in between, until fully melted.
6. Add fragrance (optional)
- This part is completely optional. Beeswax gives off a pleasant smell on its own, but if you want scented candles, add a few drops of fragrance oil to the melted beeswax. Stir well. This set from Amazon includes a variety of holiday-themed scents.
7. Pour the wax
- Carefully pour the melted wax into your containers or molds. A pitcher or pouring pot is very useful for this step, but not neccessary.
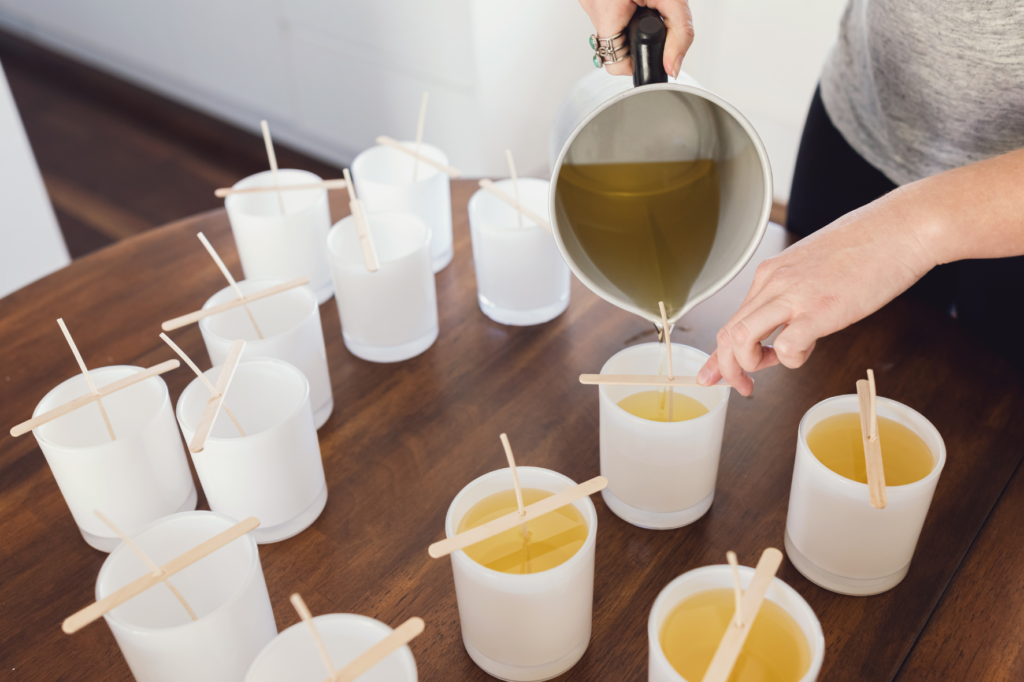
8. Set the wick
- Hold the wick in the center of the container while the wax cools and hardens. You can use a pencil or popsicle stick to help keep it in the center.
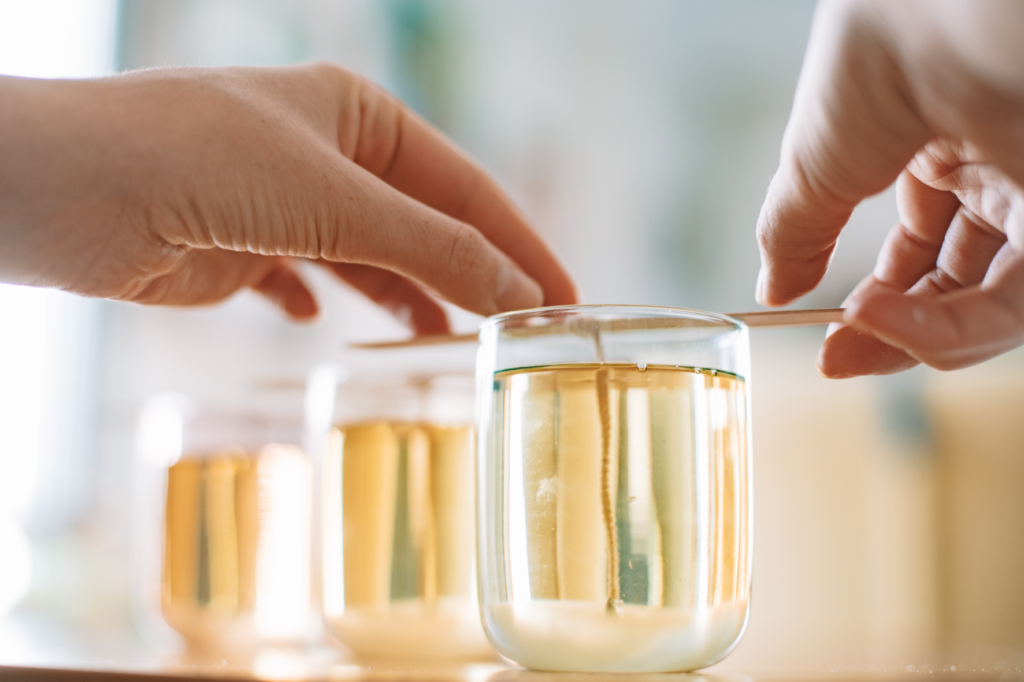
9. Cool and harden
- Allow the candles to cool and harden for a few hours. You can speed up the process by placing them in the refrigerator.
10. Trim the wick
- Once the candle is completely cooled and hardened, trim the wick to your desired length, leaving about 1/4 inch above the surface of the candle.
Your DIY beeswax candles are now ready to be lit and enjoyed! Yay! Beeswax candles are known for their clean, long-lasting burn and pleasant, natural scent. Get ready to decorate your home with them or wrap them up for Christmas gifts.