Ready to make some stunning and affordable DIY home wall decor? In this step-by-step guide, you’ll learn how to make a simple, vintage-inspired DIY wall decoration. It is super easy and it will add so much character to your space.
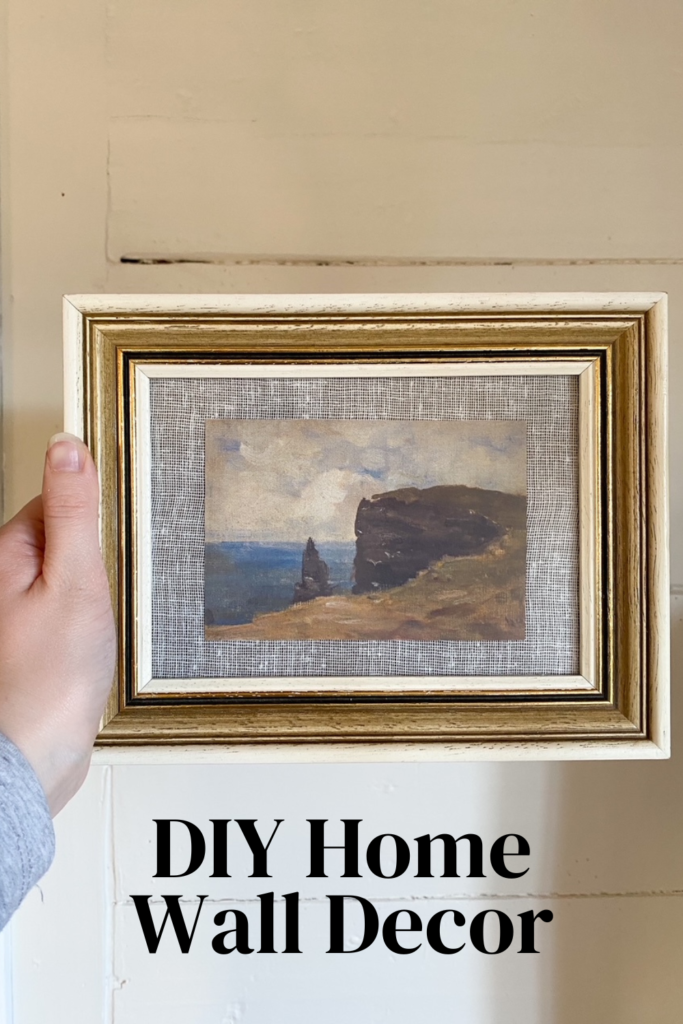
I love to go thrifting for home decor, and when I found this beautiful vintage-looking frame in a second-hand shop, I knew I wanted to make a fun project out of it.
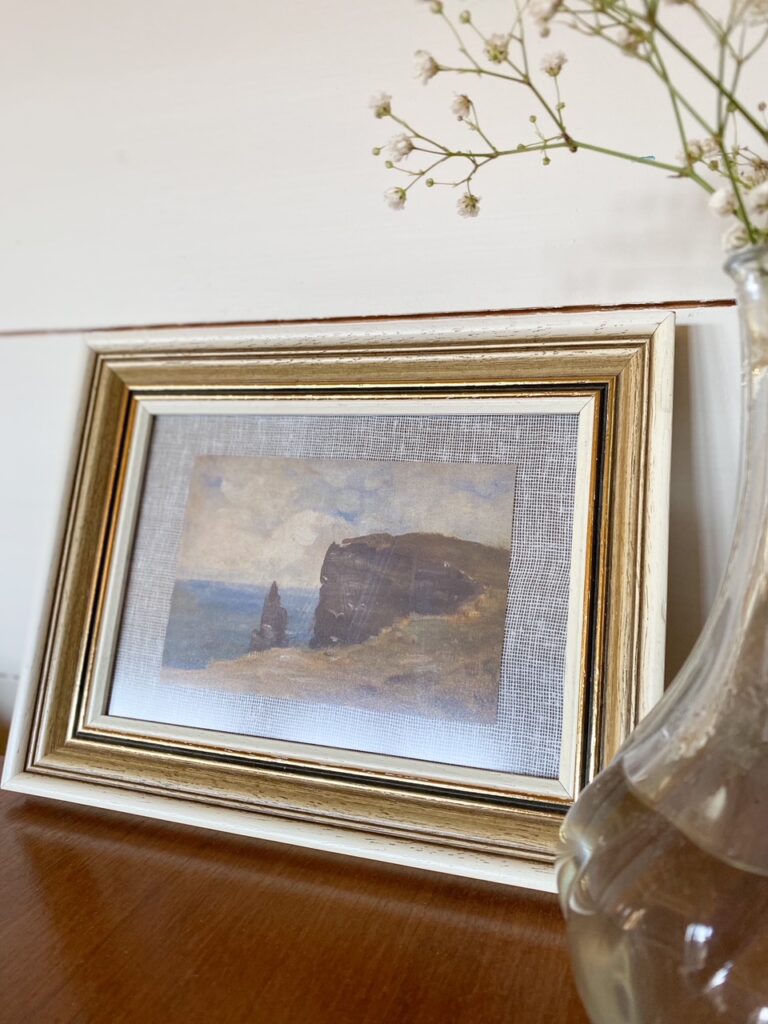
In this blog post, we are diving into the step-by-step process of how I used this frame to make a gorgeous piece of DIY wall art. I am super happy with how it turned out, and it looks great displayed in my modern-vintage living room!
Step-by-Step Guide to Make Your DIY Wall Decor
1. Gather Your Supplies
This is a very simple DIY project. The wall art is easy to make and you don’t need a ton of different supplies. The supplies you do need are quite affordable, especially if you get them secondhand.
Here’s what you’ll need:
- Scissors
- A beautiful picture frame
- A printer
- Printer paper
- Thin fabric
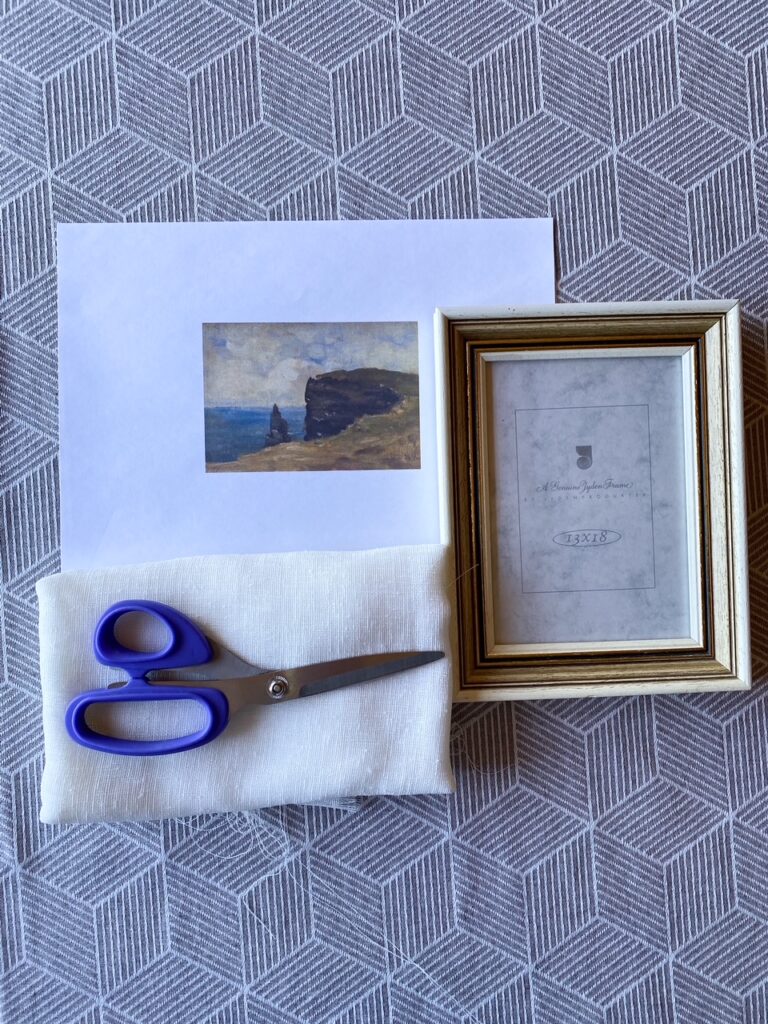
For this project, I already had all the supplies I needed at home. As I mentioned earlier, the picture frame was thrifted. I would highly recommend checking out some local thrift stores if you’re looking for unique picture frames. There are usually lots of options to choose from, and they will be way cheaper than if you were buying new ones.
You don’t need to buy the fabric new either. Mine was from an old curtain. If you can’t already tell, I love repurposing old things!
2. Print Out a Piece of Free Printable Art
For this project, I downloaded a piece of free, printable art from this website. There were lots of vintage-looking prints to choose from, but I ended up going for a landscape of a cliff and water.
Did you know there are lots of resources online where you can find free printable art? My favorite place to go when looking for printables is Pinterest. Just type “free printable art” in the search bar, and you’ll find lots of options.
Etsy is another great site for beautiful printables. Most of the time you’ll have to pay for prints from Etsy, but many are very affordable.
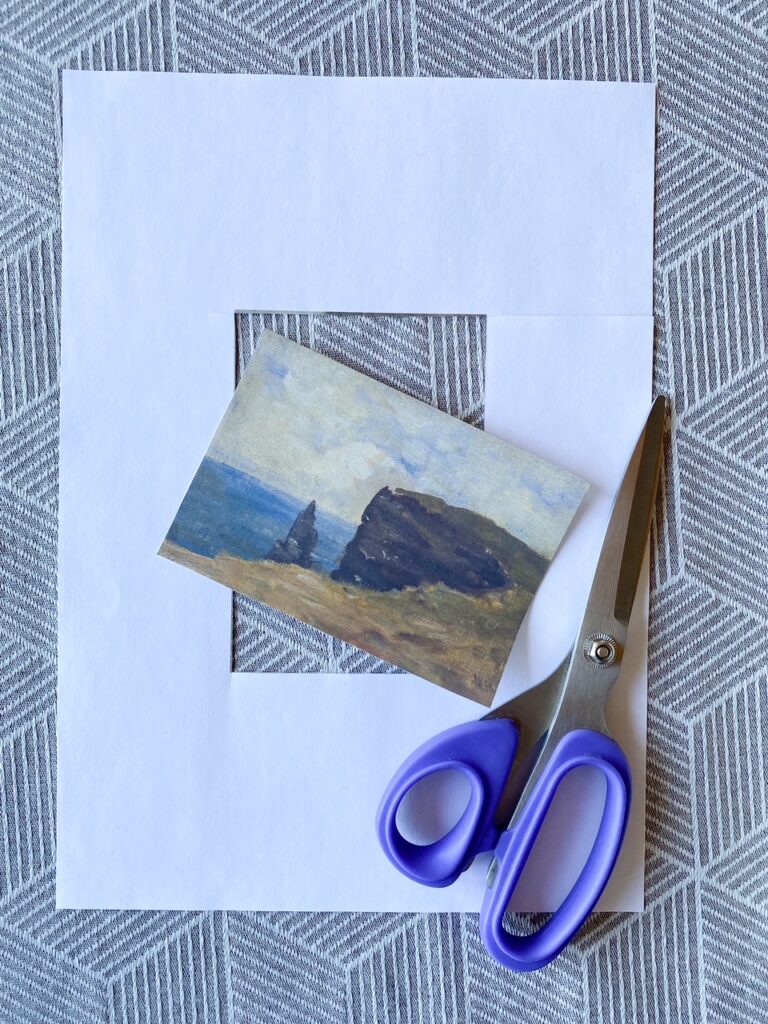
Print out the art piece of your choice in a size that is smaller than your picture frame, and cut it out. You could use high-quality paper, or you could simply print it out on regular printer paper like I did.
3. Adding the Fabric
Open up your picture frame and take out the back. Lay out your piece of fabric under the back of the picture frame, and cut it so that the fabric is just about 1-2 inches larger than the back of the picture frame.
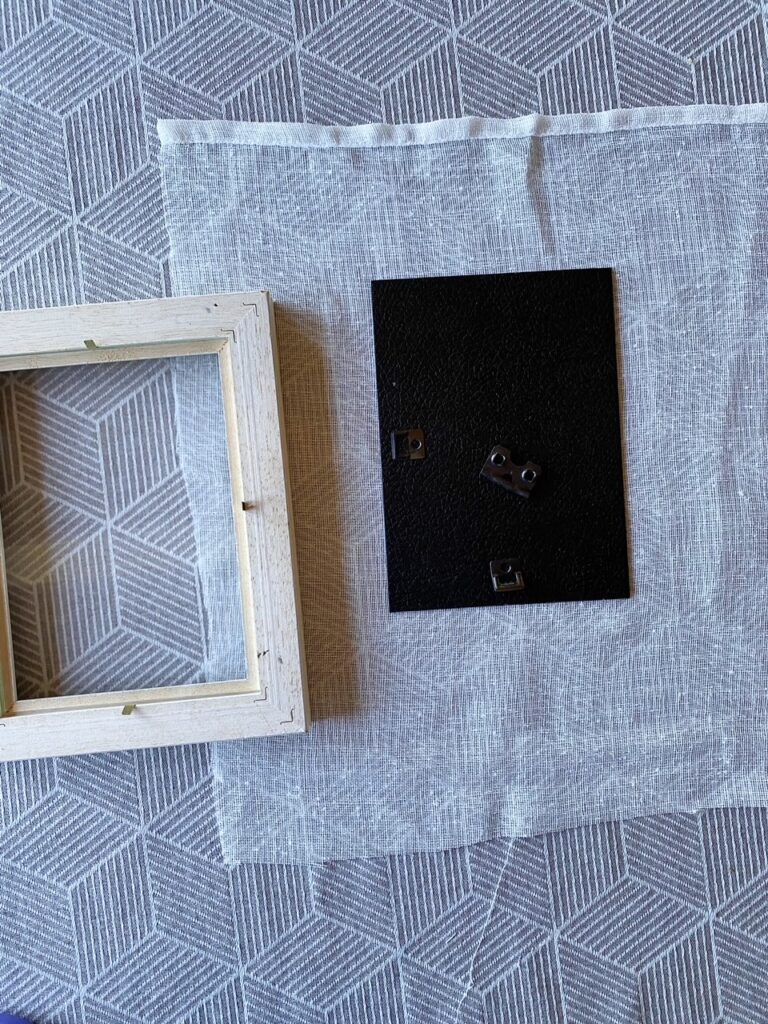
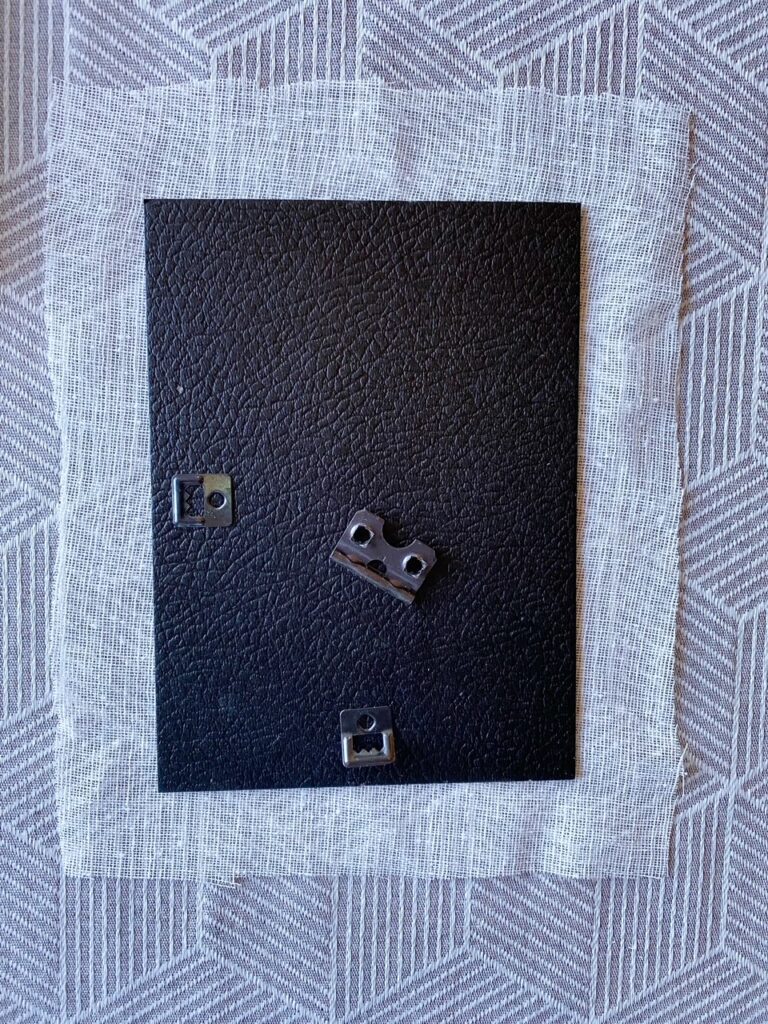
4. Time to Assemble
Next, lay your printed piece of art in the very middle of the glass, with the image side facing down.
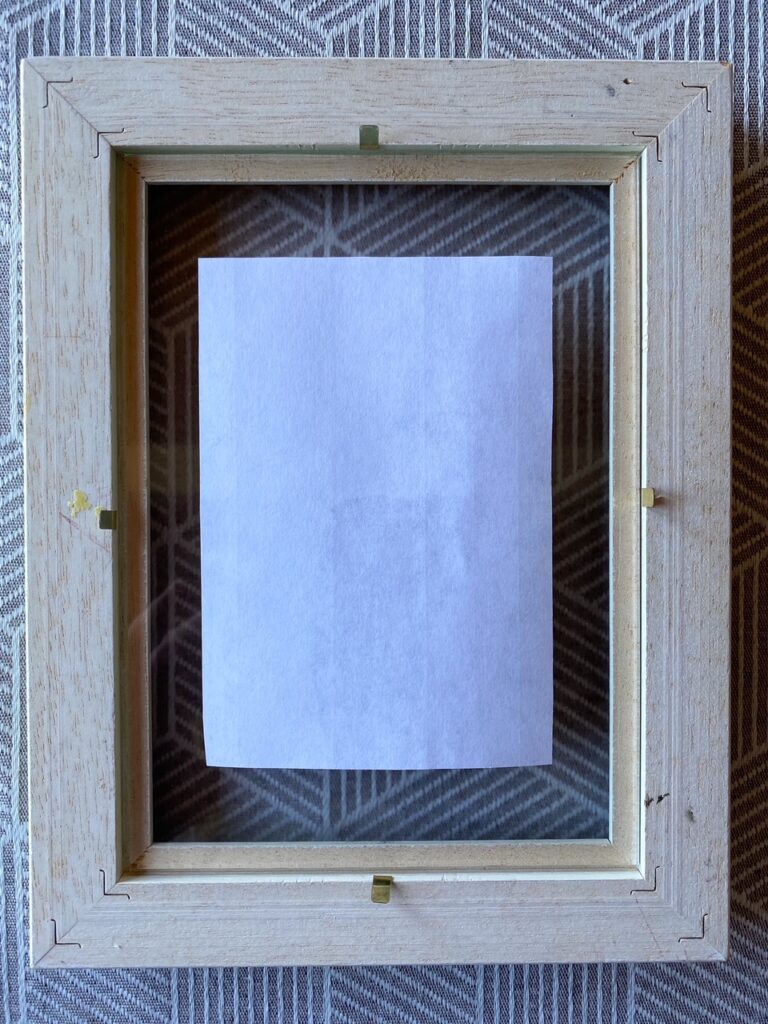
Wrap your piece of fabric tightly around the back of the picture frame and stick it on top of the glass. Be careful so that your printed image doesn’t move. Lock the fabric in place with the tabs on the back of the picture frame.
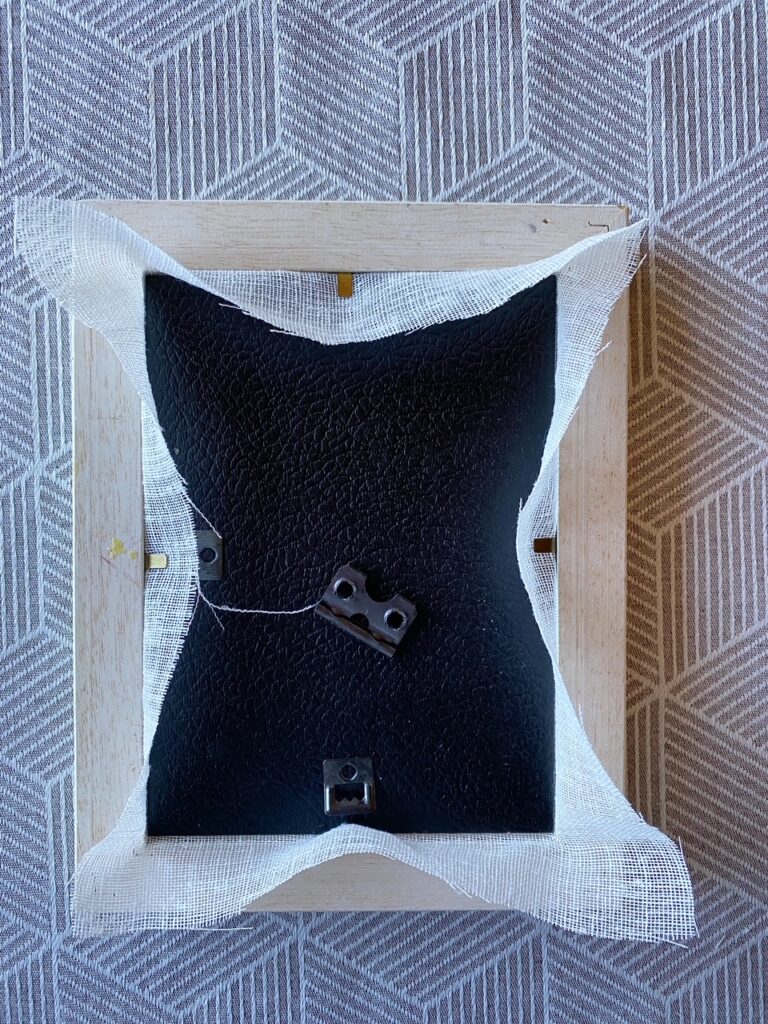
If you want, you can glue the excess fabric down, so that it sticks better to the back of the picture frame.
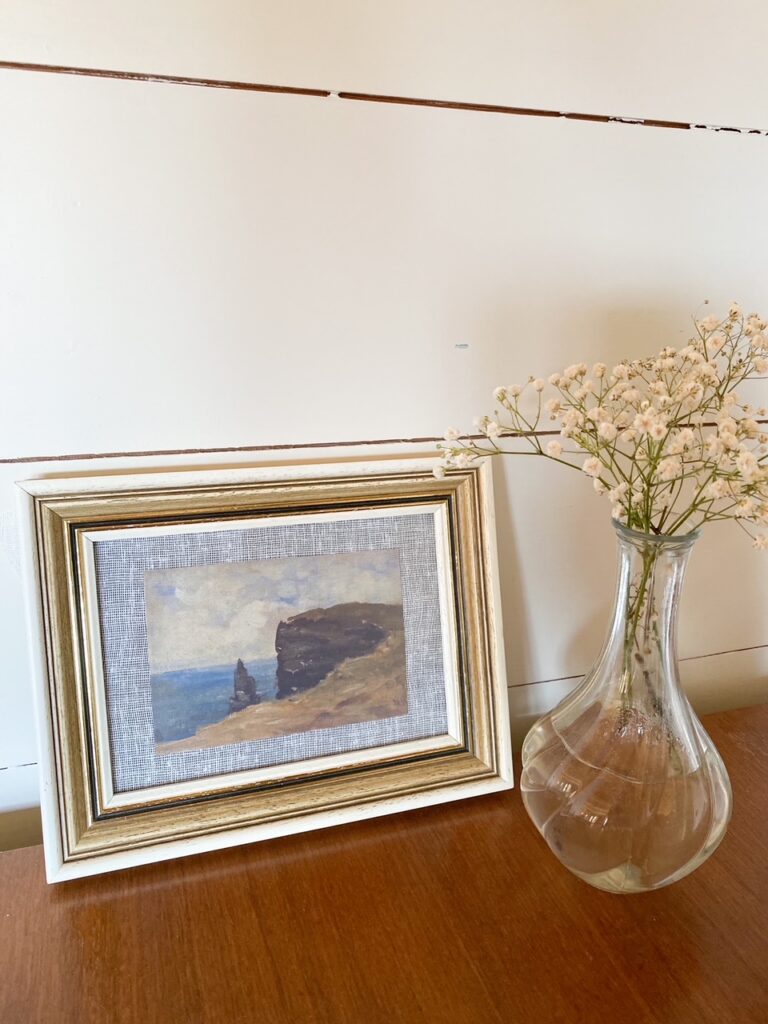
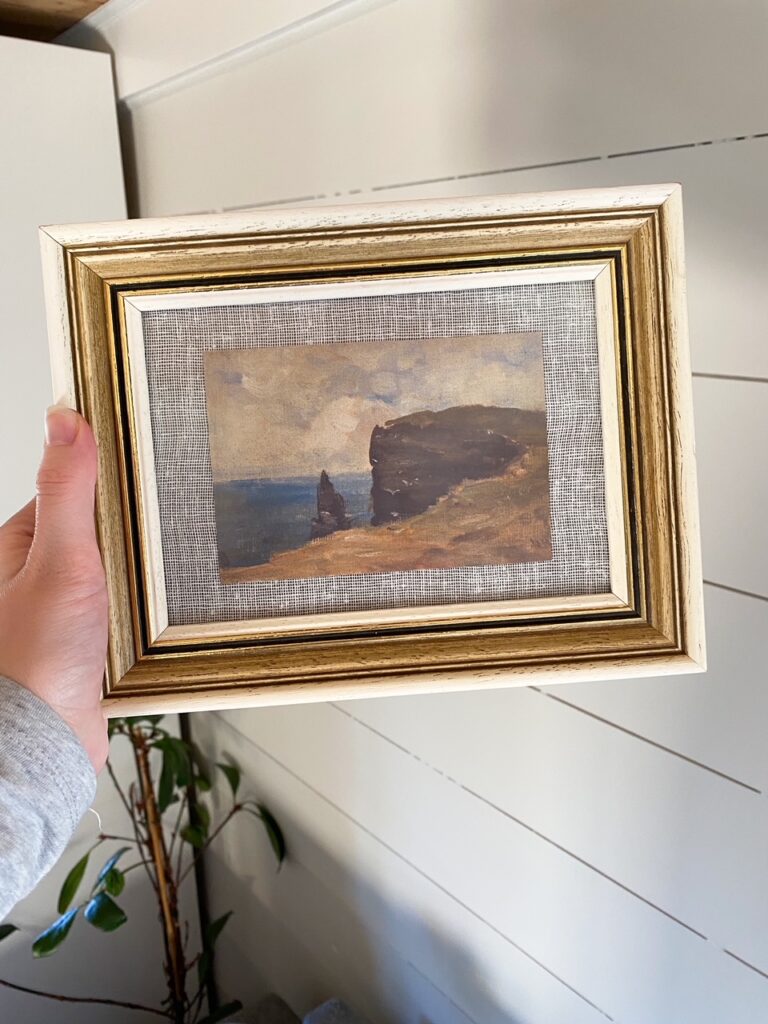
5. The Finished Result! Time to Enjoy Your New Wall Art!
That’s it. Like I said, this is a super simple DIY. I’m sure it could have been done in a more professional way, but I’m an impatient person who has many projects going at once. So, quick and easy DIYs like this one are perfect for me. Considering the time, money, and effort spent, I think it turned out pretty beautiful!
Conclusion
This blog post has been all about my recent DIY home wall decor project. To conclude, this is a super simple DIY project where you’ll be left with a gorgeous piece of vintage-looking art. If you love vintage modern home decor like I do, it’s definitely worth trying out.
Did you like this DIY idea? You can find my other blog posts about DIY home decor here.
Loving vintage-modern decor like me? Find more inspiration here.