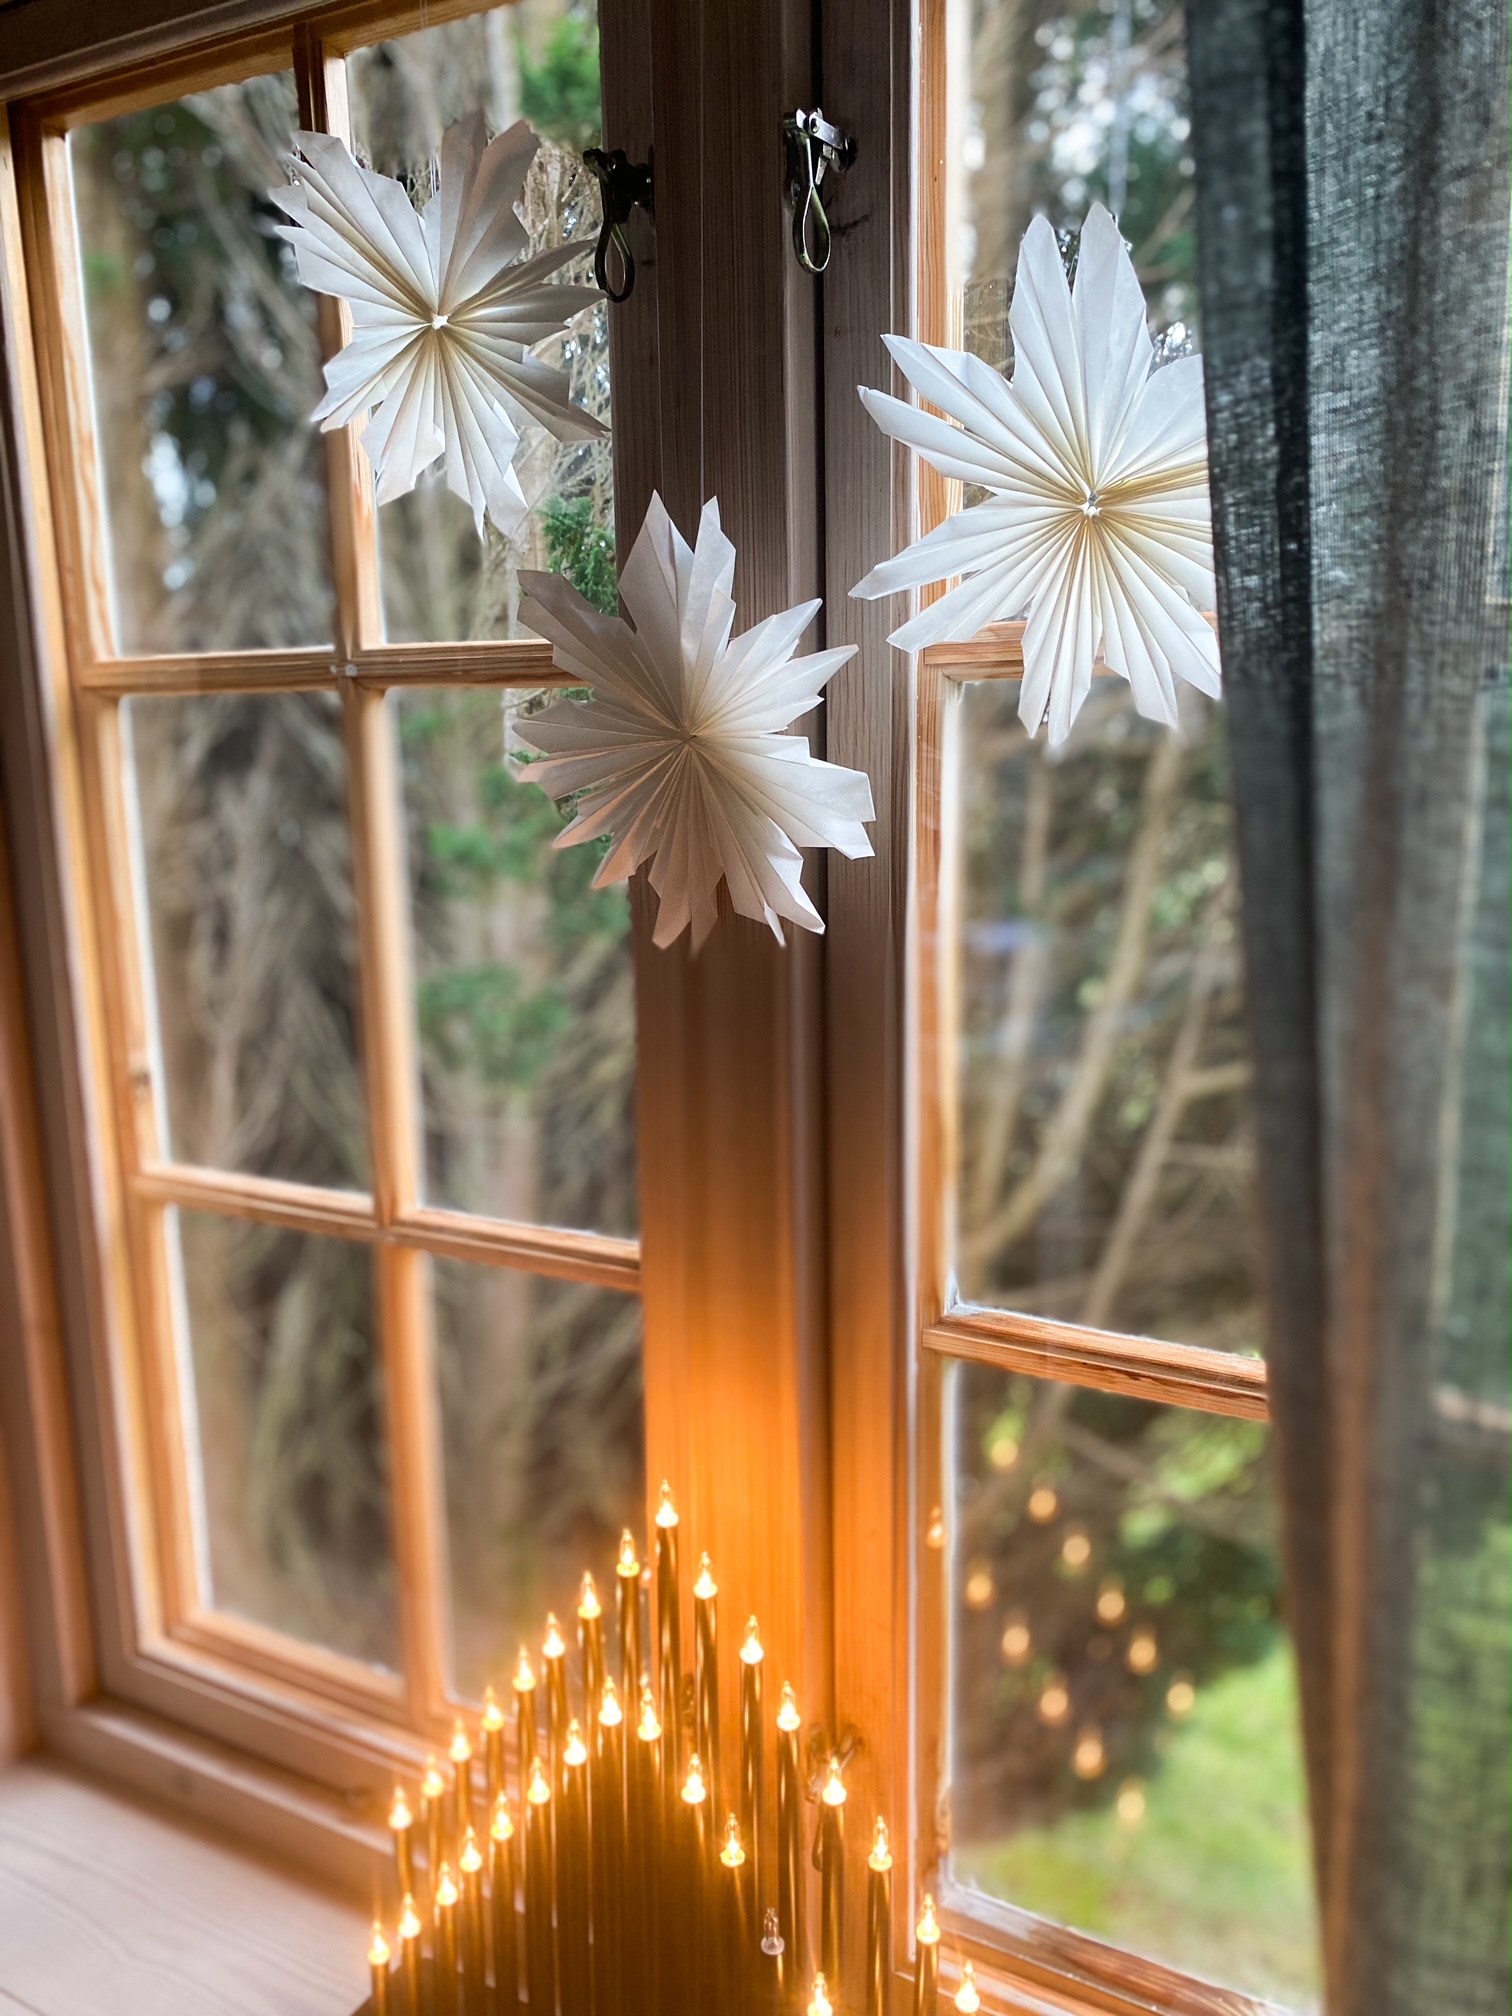
Ready to make some gorgeous DIY Christmas stars using just a few supplies you probably already own? I love the idea of DIY Christmas decor and using what you have on hand. I’d been thinking of purchasing some new Christmas stars to hang in my windows for a while, but I’m so glad I didn’t end up spending that money. These DIY ones turned out beautiful and they cost me next to nothing! They’re the perfect little vintage touch to our holiday cottage decor.
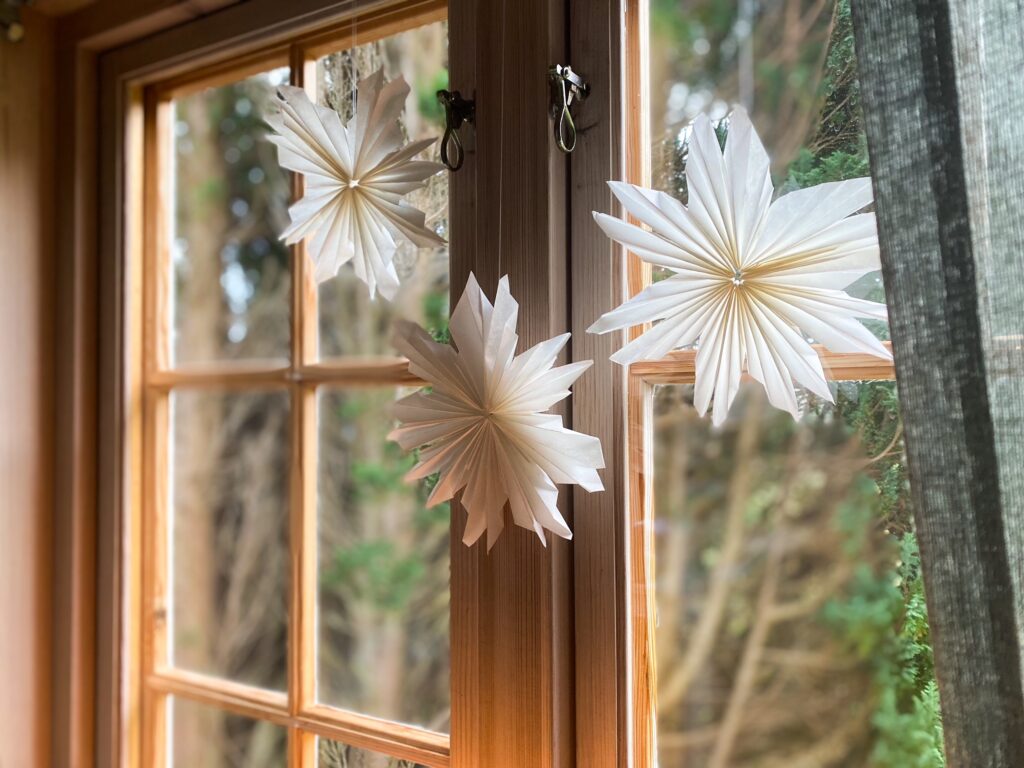
Make your own Christmas stars
I must mention I didn’t come up with the idea myself. After doing a bit of research, I found some inspiration from HiwwelWerk on pinterest. I had everything I needed for these stars at home, so I didn’t even have to run to the store. You might have seen people making stars out of paper bags? It’s such a clever idea and I wanted to try a similar approach, but using coffee filters instead of paper bags. It was a success!
Want to learn how to make your own DIY Christmas stars using coffee filters? Follow this easy step by step tutorial.
This blog post includes a few affiliate links.
Supplies you’ll need
All you really need is glue (I used my hot glue gun), coffee filters (four coffee filters for each star) and scissors. For coffee filters, go for the cone shaped ones. Mine were white but you can use brown ones if you prefer. If you want to hang the stars, you are also going to need some kind of thread. I used white sewing thread and it worked great. Use a sewing needle to fasten the thread to the stars.
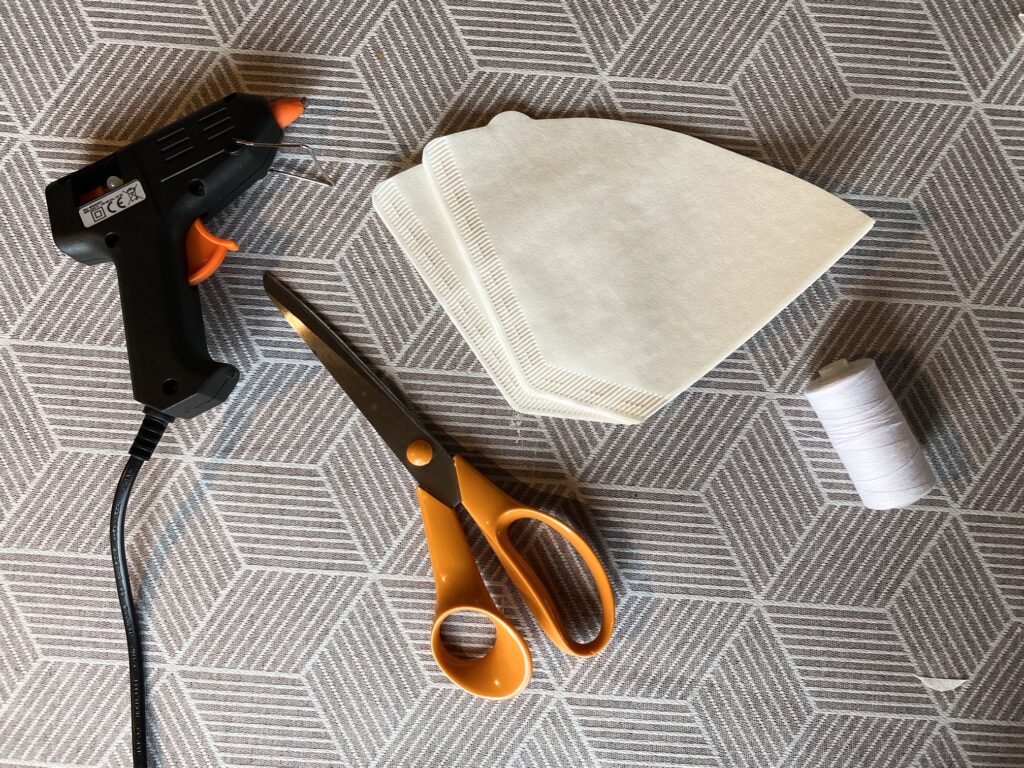
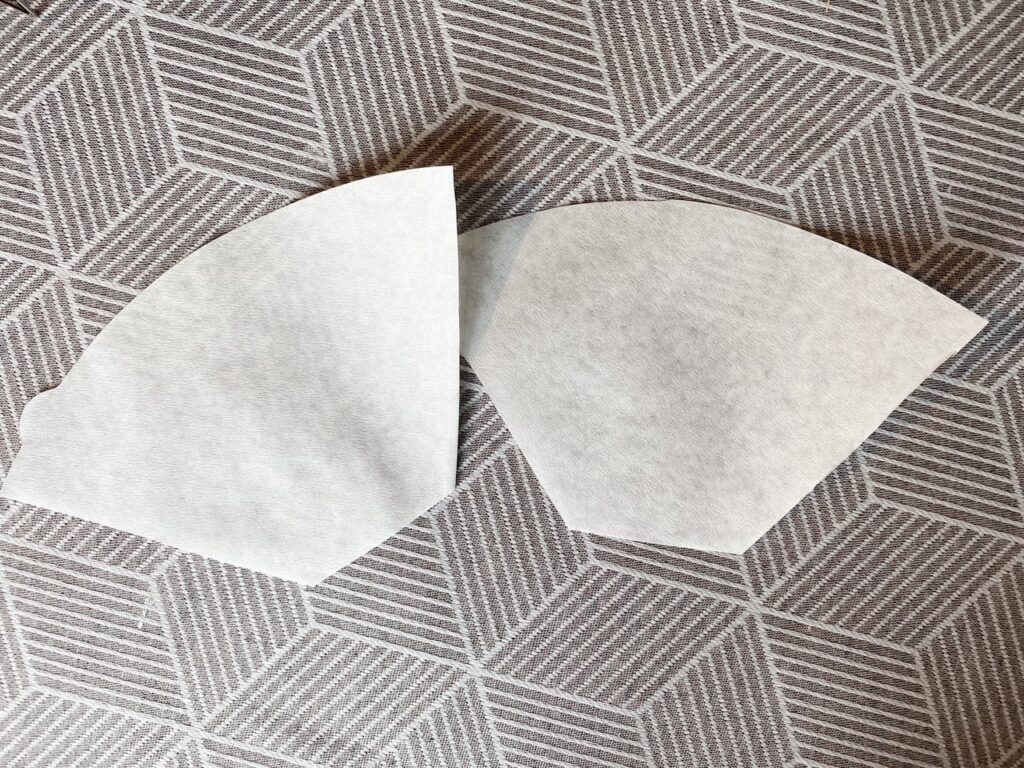
Grab your first coffee filter. Start by cutting off the seams. If your coffee filters have a little tab, like mine did, cut that off as well.
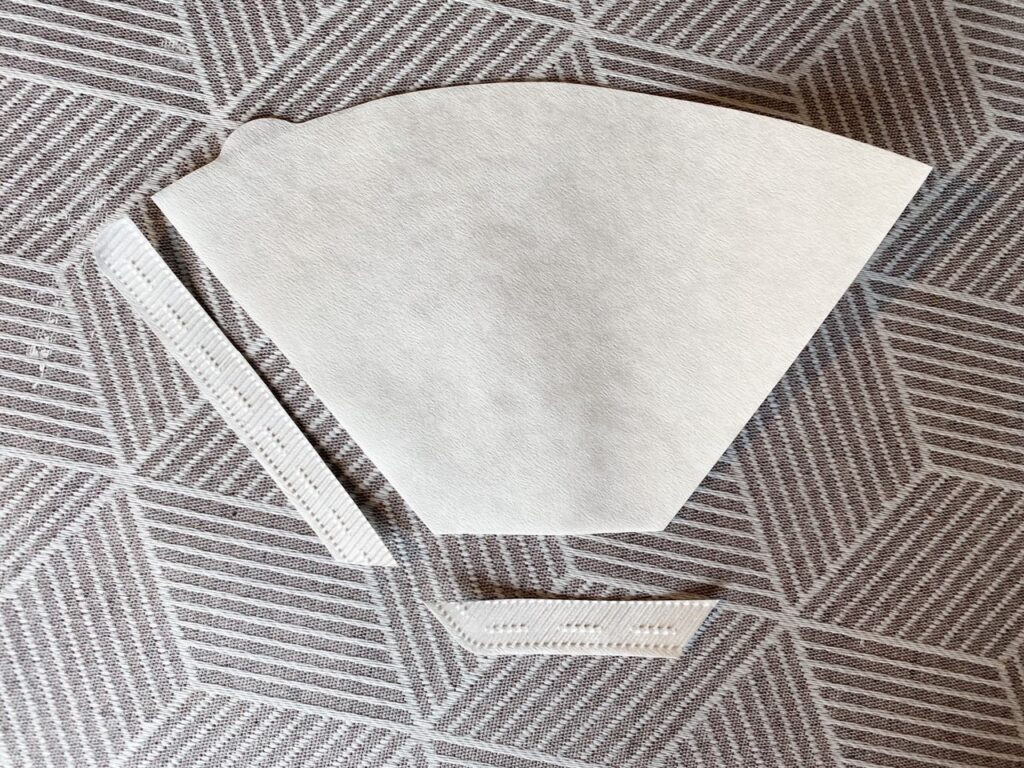
Cut coffee filter into two pieces, as shown below.
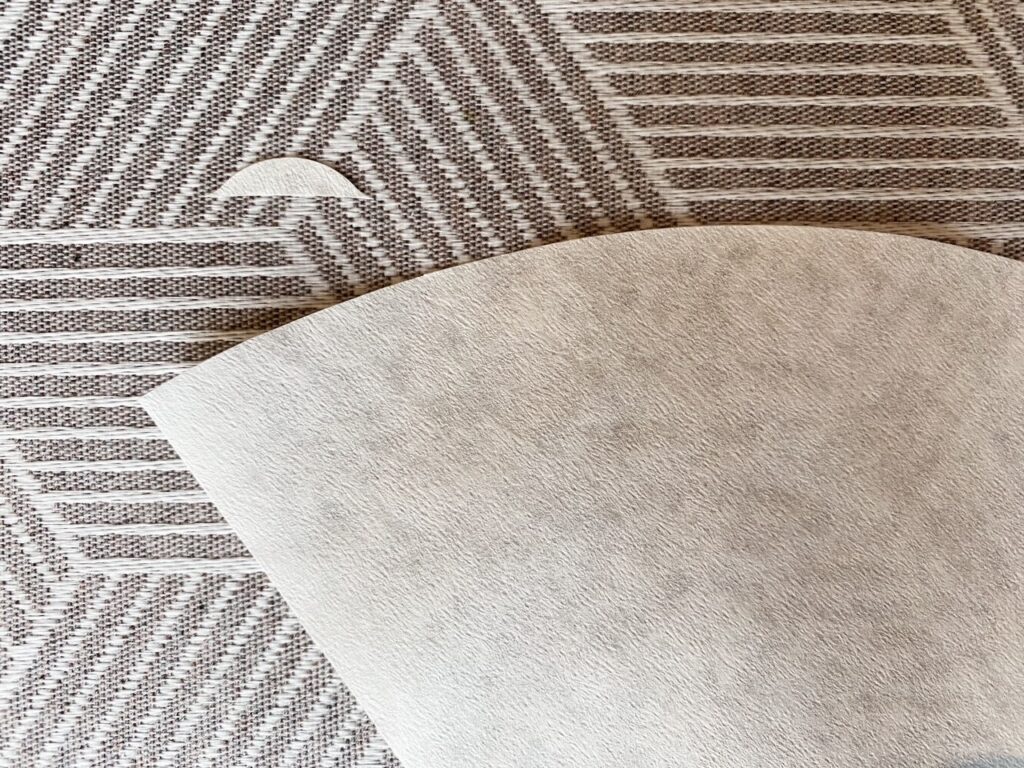
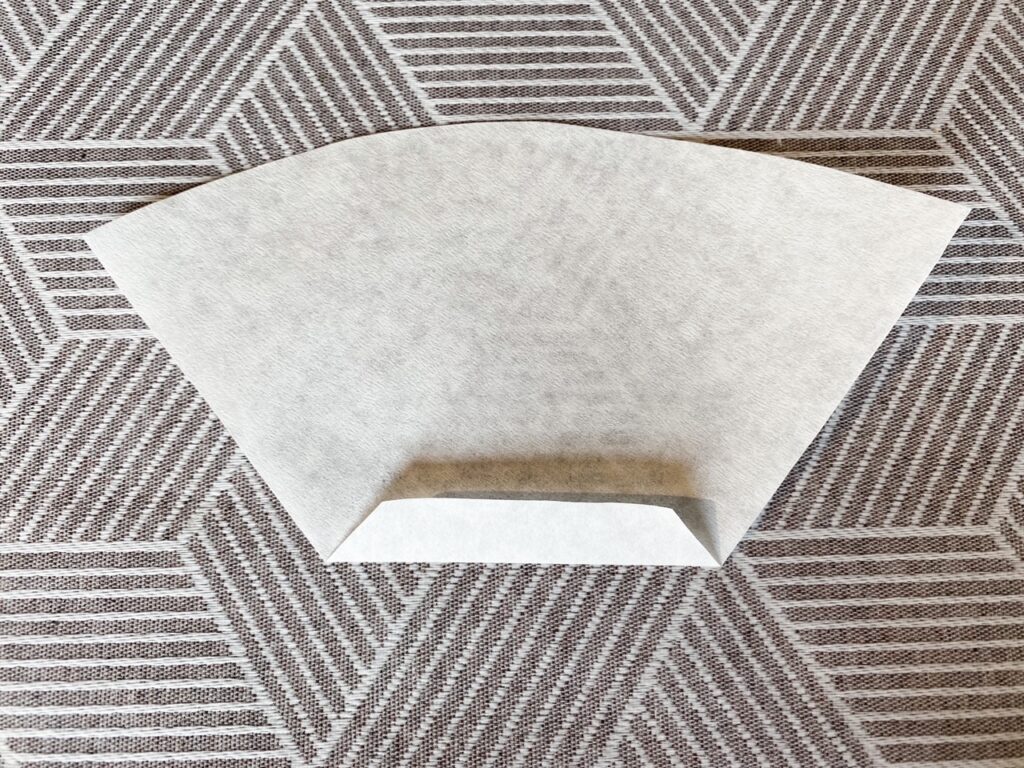
Grab one of the pieces. Make a fold about 1 centimeter from the bottom of the coffe filter.
Flip it and make another fold, the same size as the previous fold.
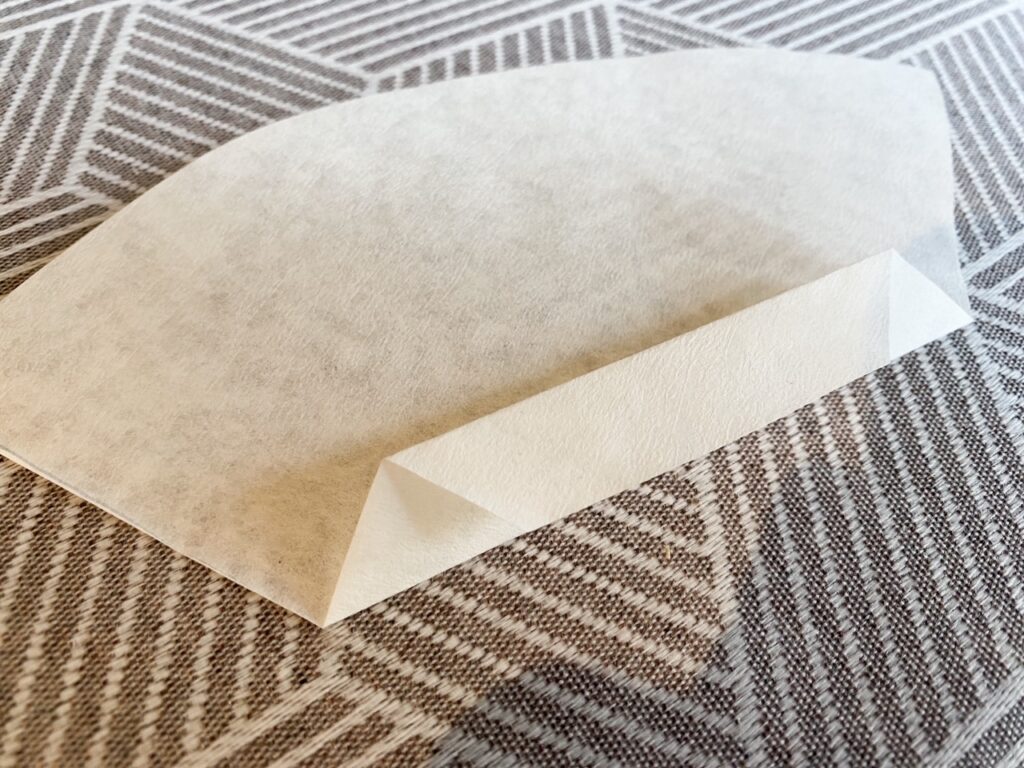
Flip it back again and make another fold. Repeat flipping and folding until you have done the whole piece. It should look like this:
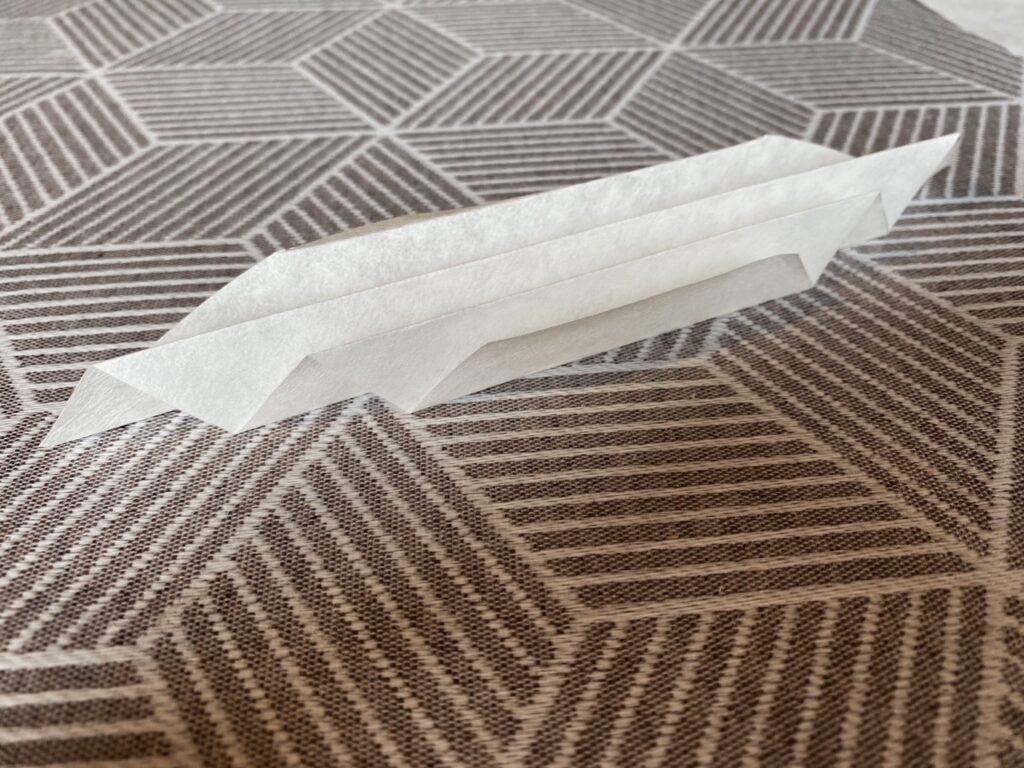
Pinch in the middle, then fold over.
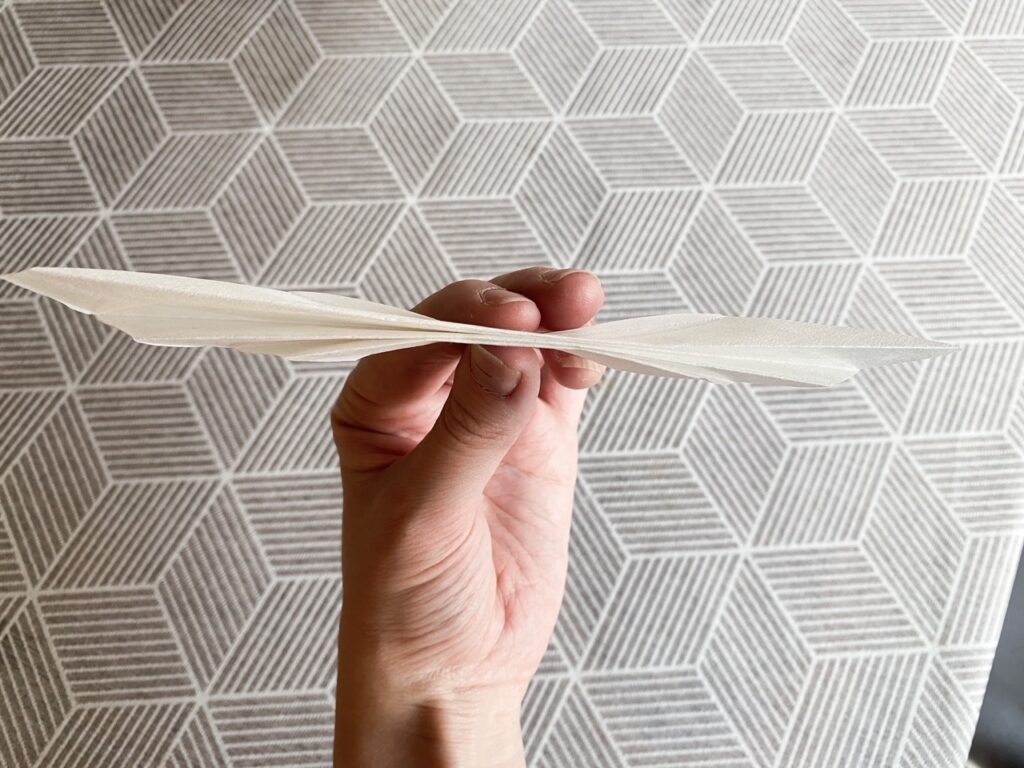
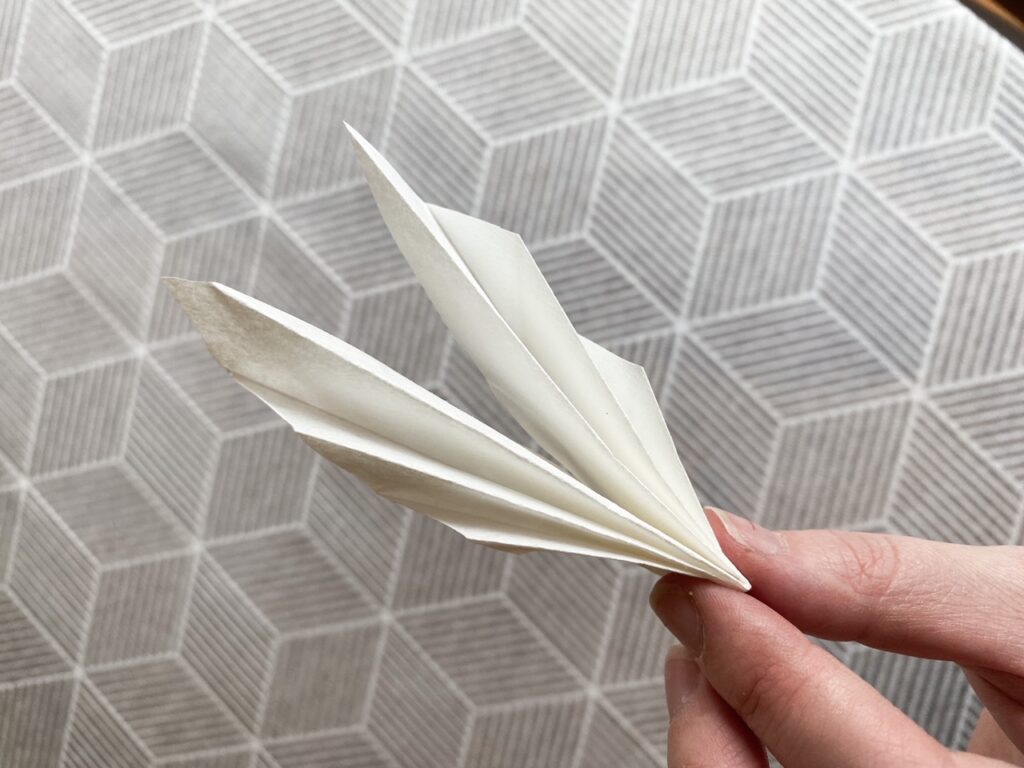
Now you want to grab your hot glue gun or glue stick and glue the middle together.
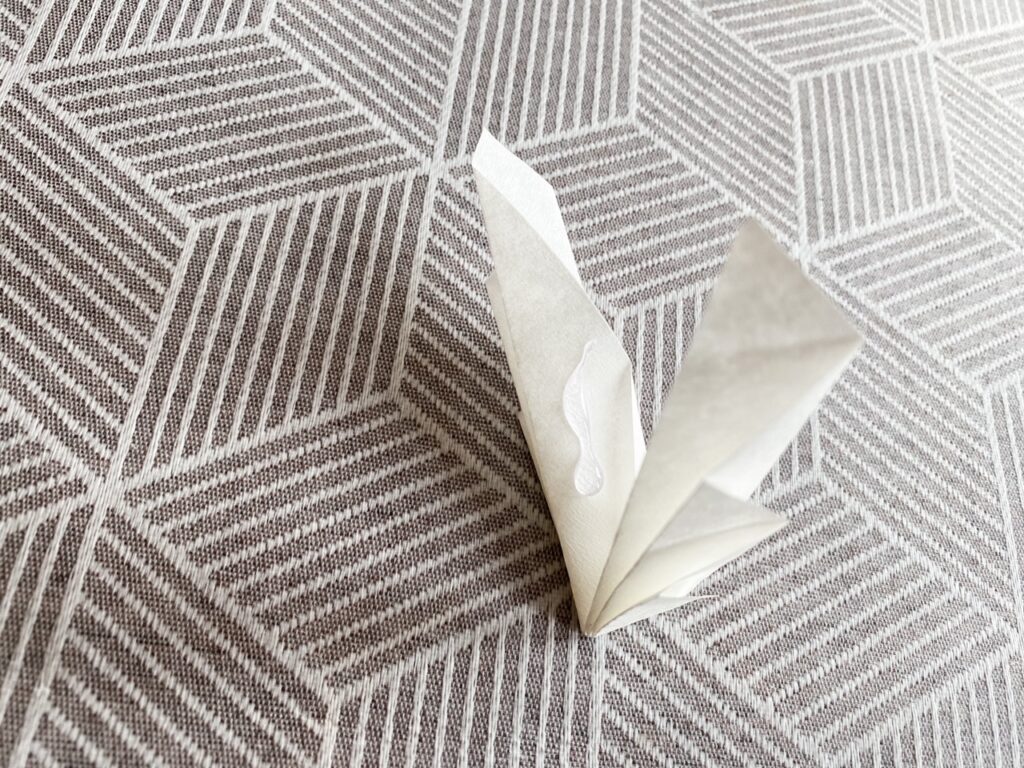
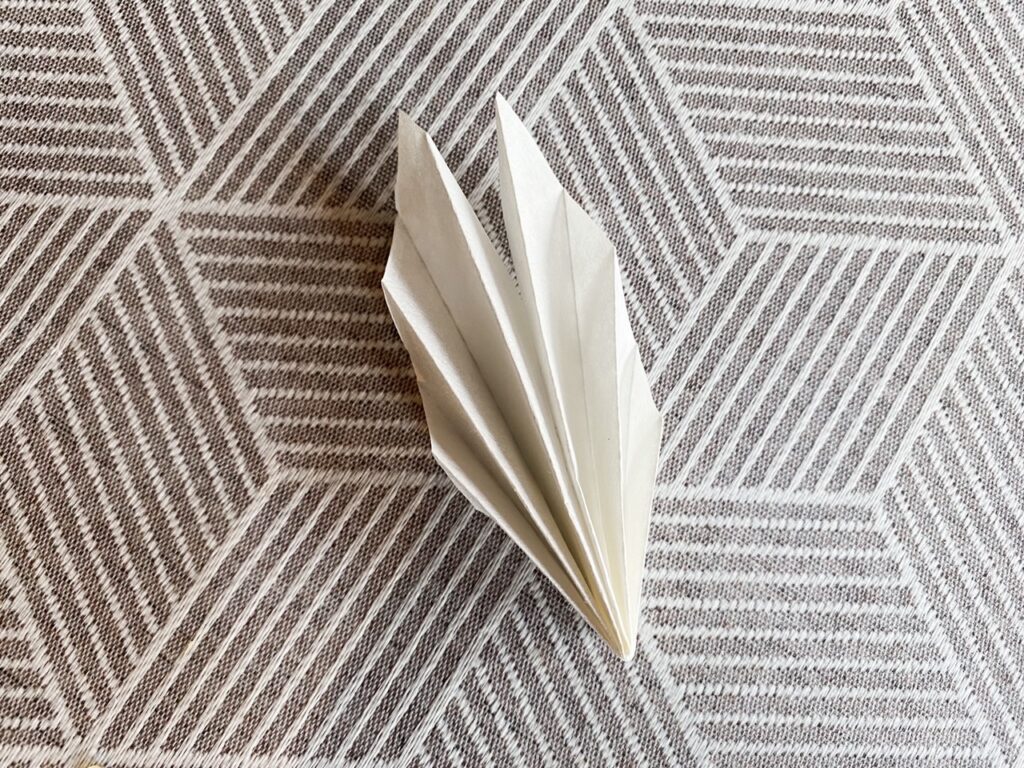
Allow the glue to dry and repeat these steps for all four coffee filters. When finished you should be left with 8 folded pieces. Assemble into a star shape and glue the sides together.
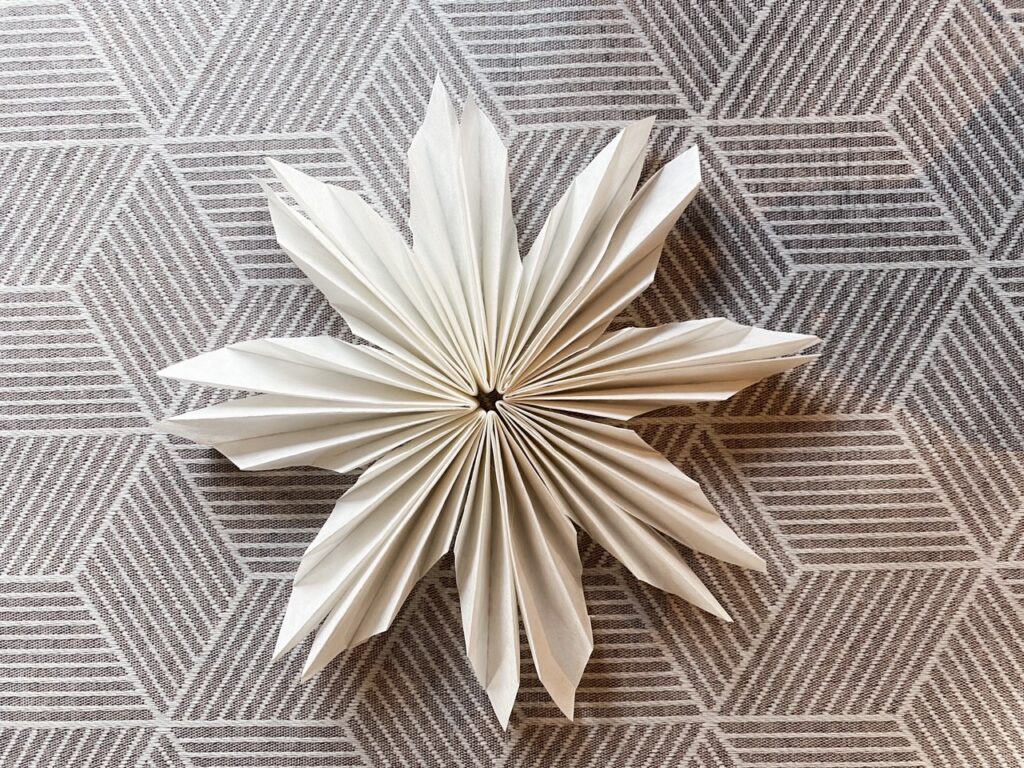
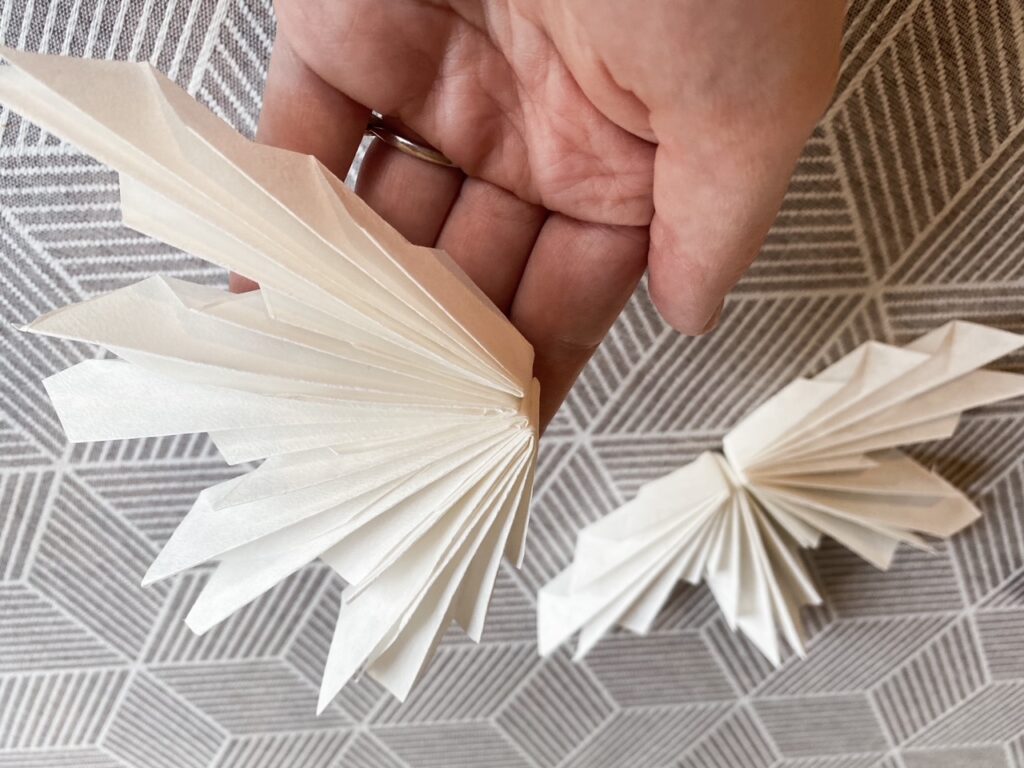
I pushed it together like this before connecting the two final sides to make sure the glue would set really well. You could finish by using glue to connect the two final sides, like I did, or you could use a paper clip. If you use a paper clip, you can easily fold up your star when the holiday season is over and store it for next year.
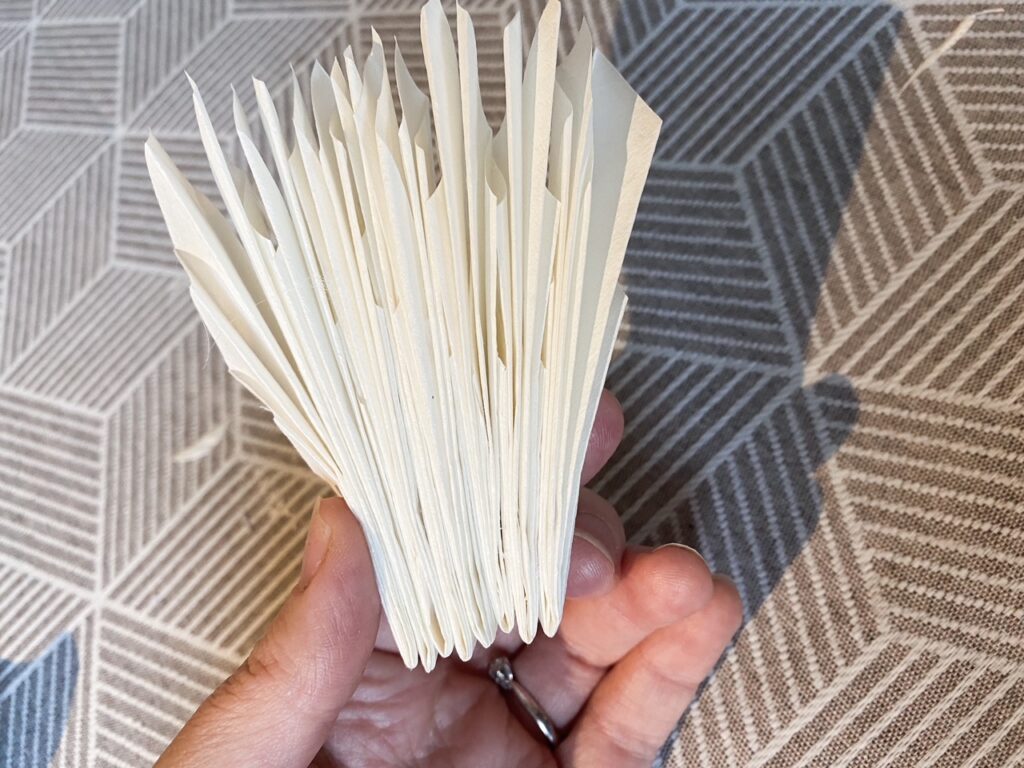
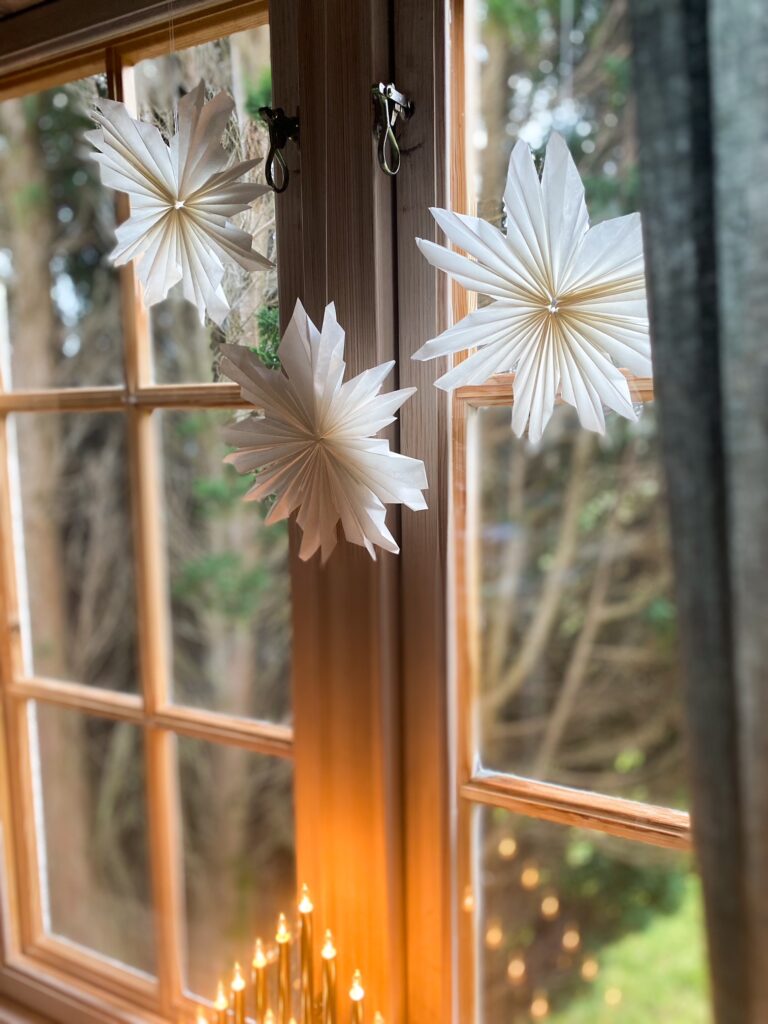
Aaaand, there you have it! Your very own home made DIY coffee filter christmas star! Attatch some sewing thread and hang it wherever you would like. I would recommend using a sewing needle to make a little hole and attatch your thin tread. I know for sure that I will be making more of these and hanging them all around my house in december. I loved the look of having them in the window with my advent lights, but I can also imagine they’d be cute on a christmas tree.
Good luck!